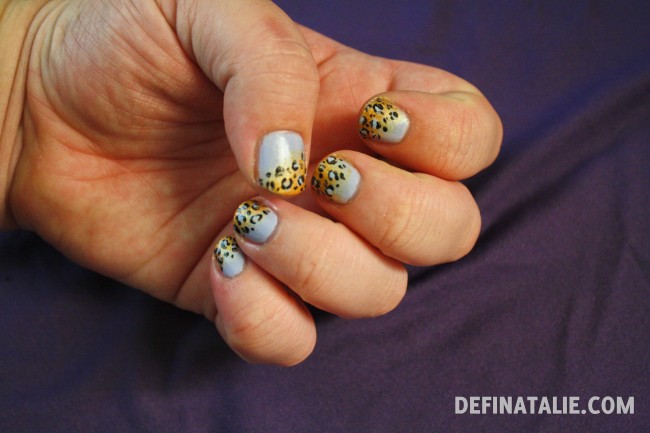
I picked up three Orly nail polishes for $10 the other day (ie: a BARGAIN) and wanted to use Glitz, a gold, immediately! I didn’t want to do a plain gold because after receiving my WAH Nails book in the mail I felt like I ought to get a bit creative. Nail time is self care time, so an hour and a bit doing my nails is time well spent!
I settled on a lilac and gold gradient but wasn’t feeling very satisfied with it, so I threw a few leopard spots on it and voila! I swear these are the best nails I’ve ever done! Some people asked me to do a tutorial so here goes my first attempt at a nail art step by step. I’m not a professional, I don’t have long nails, and my techniques are all self taught so I hope this encourages other people to give it a go.
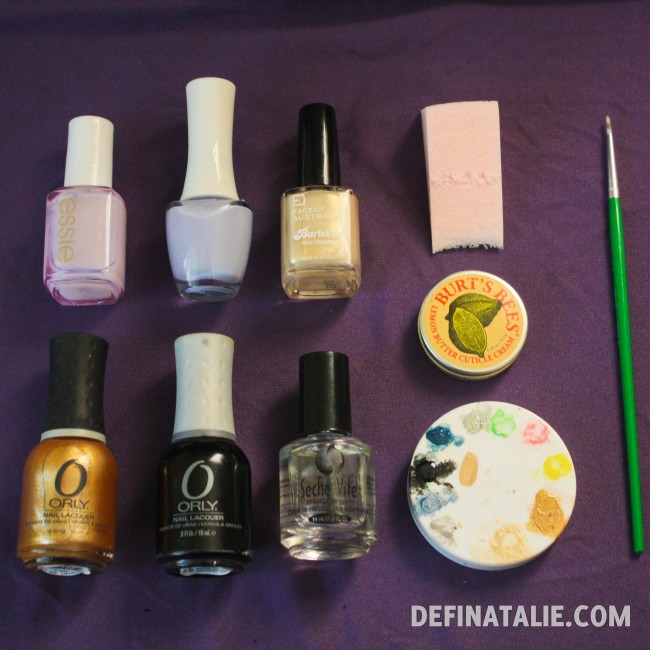
I used:
Essie Beam Up
Lilac by The Face Shop
Calypso Gold by Face of Australia
Glitz by Orly
Liquid Vinyl by Orly
Seche Vite top coat
You don’t have to use these, or even find terribly close dupes! Choose a light/ non saturated first colour, and then you can do the gradient with two colours close to each other. If you only have one gold polish just use that! The light gold I used just helped smooth out the gradient.
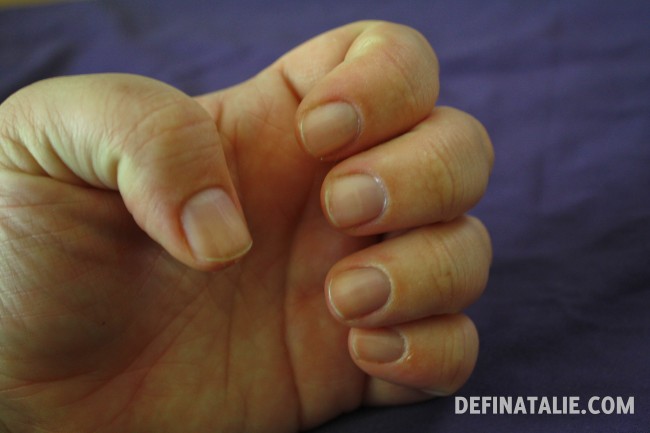
Start with clean nails and add base coat. For a long time I didn’t use base coat and had quite yellow nails! The Essie Beam Up actually makes your nails a lot whiter, which is great if you’re doing nail art requiring natural nail showing through.
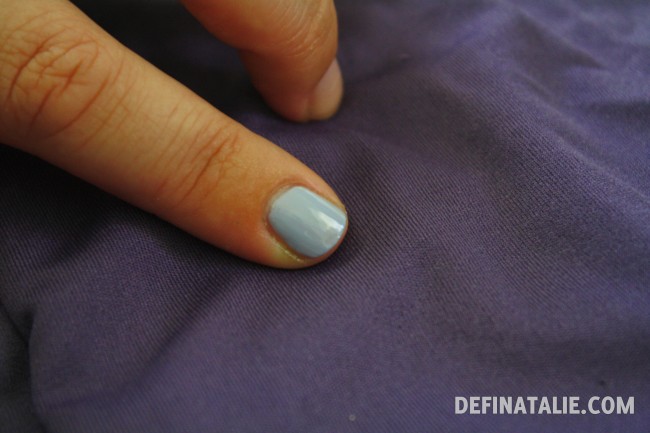
Apply your first colour. The tip of the nail will be covered by the gradient so it doesn’t have to be perfect!
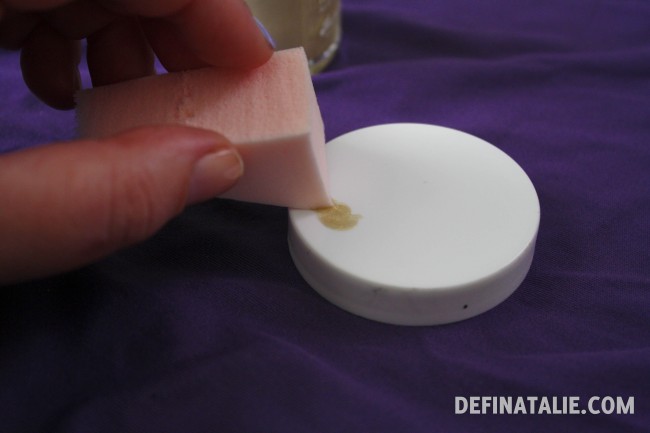
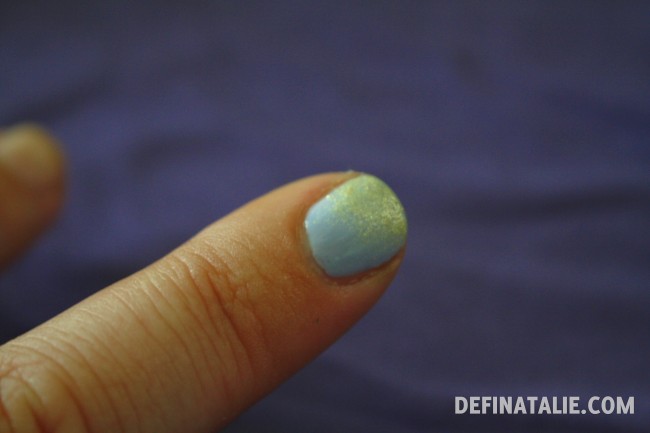
I use a plastic lid off a discarded pot as a polish palette and drop a little light gold polish on it. Grab a triangle sponge and lightly dab a corner in the polish. Then lightly pat the sponge over the top half of your nail. I did my gradient on an angle but you don’t have to! If you want more coverage repeat until you’re happy, but remember the darker gold will be going over the top of this.
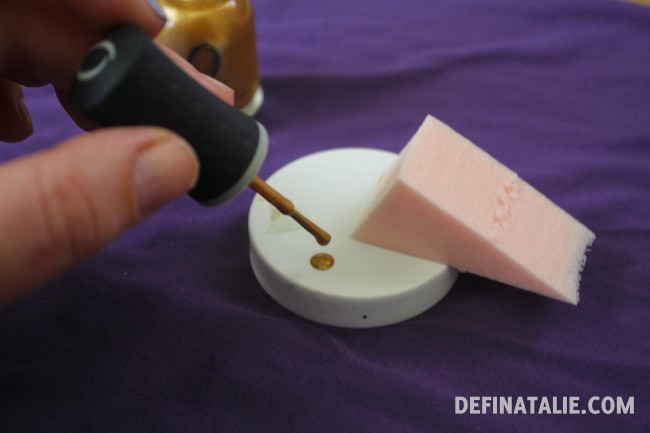
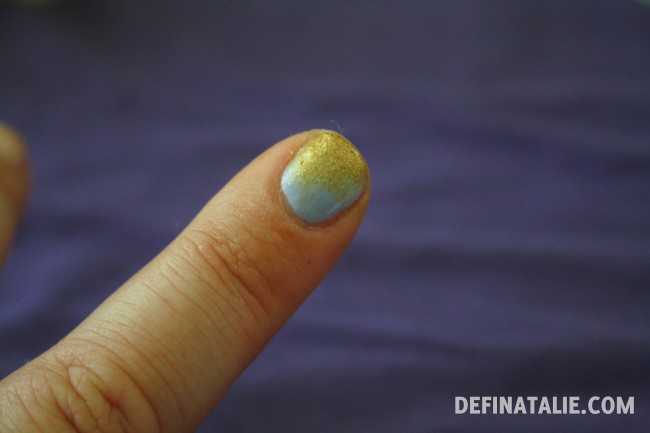
Repeat the sponge dabbing with the dark gold polish. Dab the sponge on the top third of your nail if you’re using two colours, that way the lighter colour will help the transition.
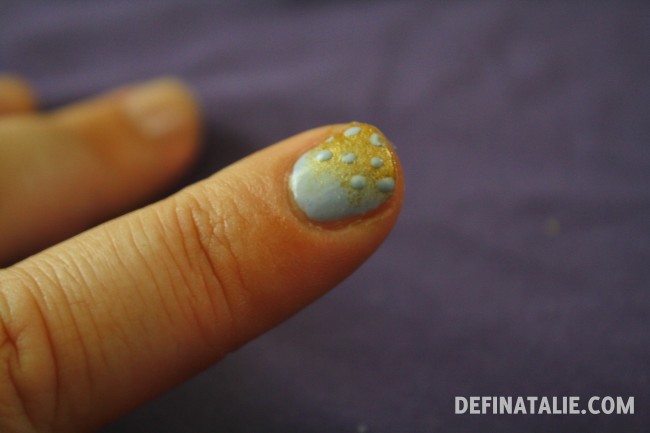
Now we start to build the leopard spots over the gold gradient. Drop some lilac polish on your palette and then use a small brush to paint dots of different sizes over the gold area of your nail.
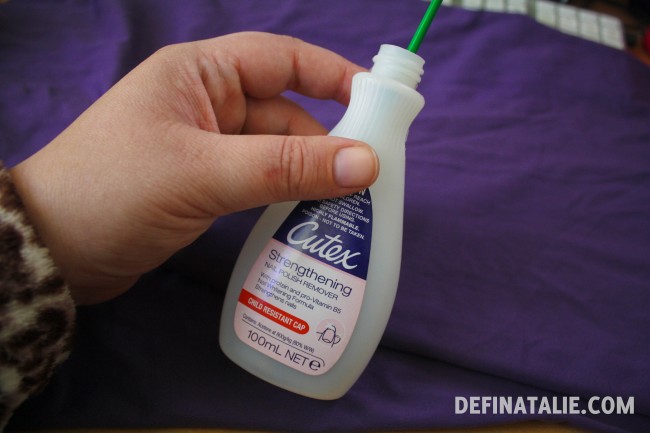
To finish the leopard spots you’ll need a little black polish on your palette and a clean brush. I keep the dregs of my nail polish remover to use for this purpose!
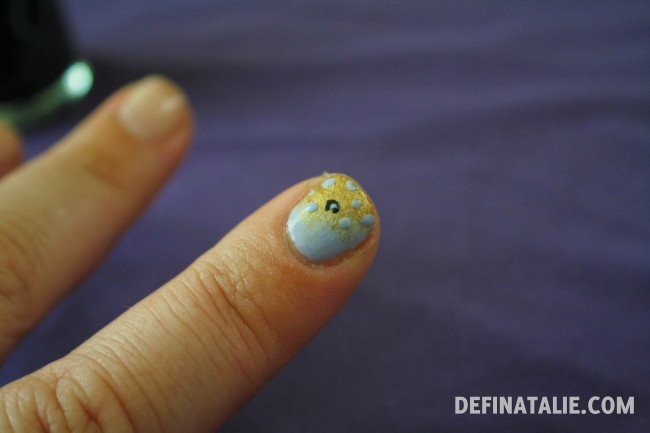
This bit requires deep breaths and concentration. To add the borders around the spots, drop the brush lightly on the edge of the lilac blob and drag it around a little. You don’t have to circle the blob entirely, and sometimes even small dots does the trick!
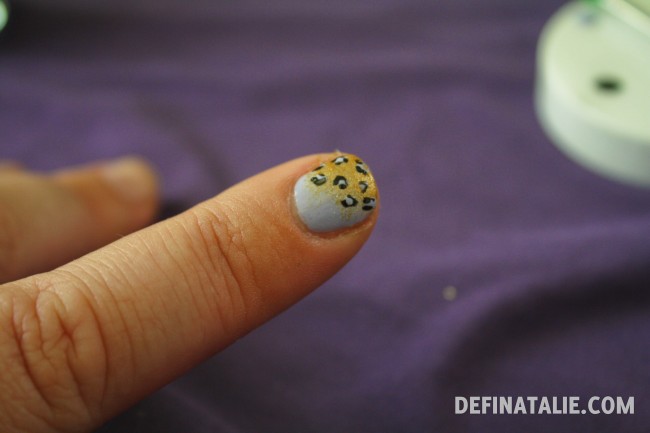
Once you’ve added black borders around all the spots, fill in the empty spaces with tiny dots. Then finish with a top coat and you’re done!
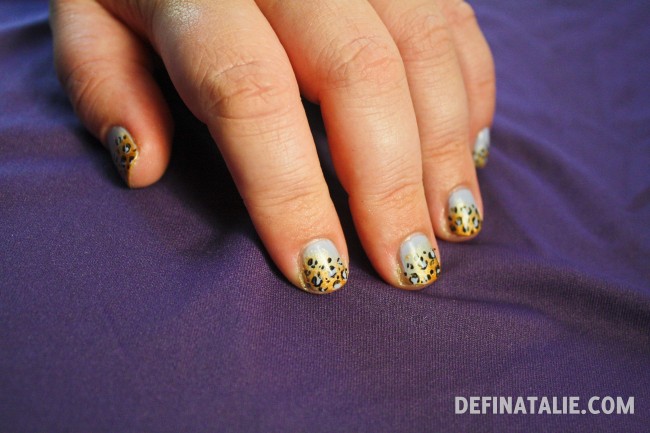
I would love to see your results if you end up following my tutorial, especially if you use different colours!

Oh, this looks amazing! I love the idea of the gradient leopard spots, well done!